
Setting Up Zwift: What You Actually Need
Zwift setup advice has gotten complicated with all the equipment options and troubleshooting guides flying around. As someone who got a smart trainer for Christmas two years ago and spent hours fumbling with setup, I learned everything there is to know about getting Zwift to work the first time.
The process isn’t hard once you know what’s involved, but the information scattered across forums and YouTube isn’t always clear. Here’s the straightforward version.
The Core Equipment
Probably should have led with this section, honestly. A trainer: Either a smart trainer or a “dumb” trainer with a speed sensor. Smart trainers control resistance automatically and communicate power data – much better experience. Direct drive trainers (rear wheel off) are more accurate and quieter than wheel-on trainers.
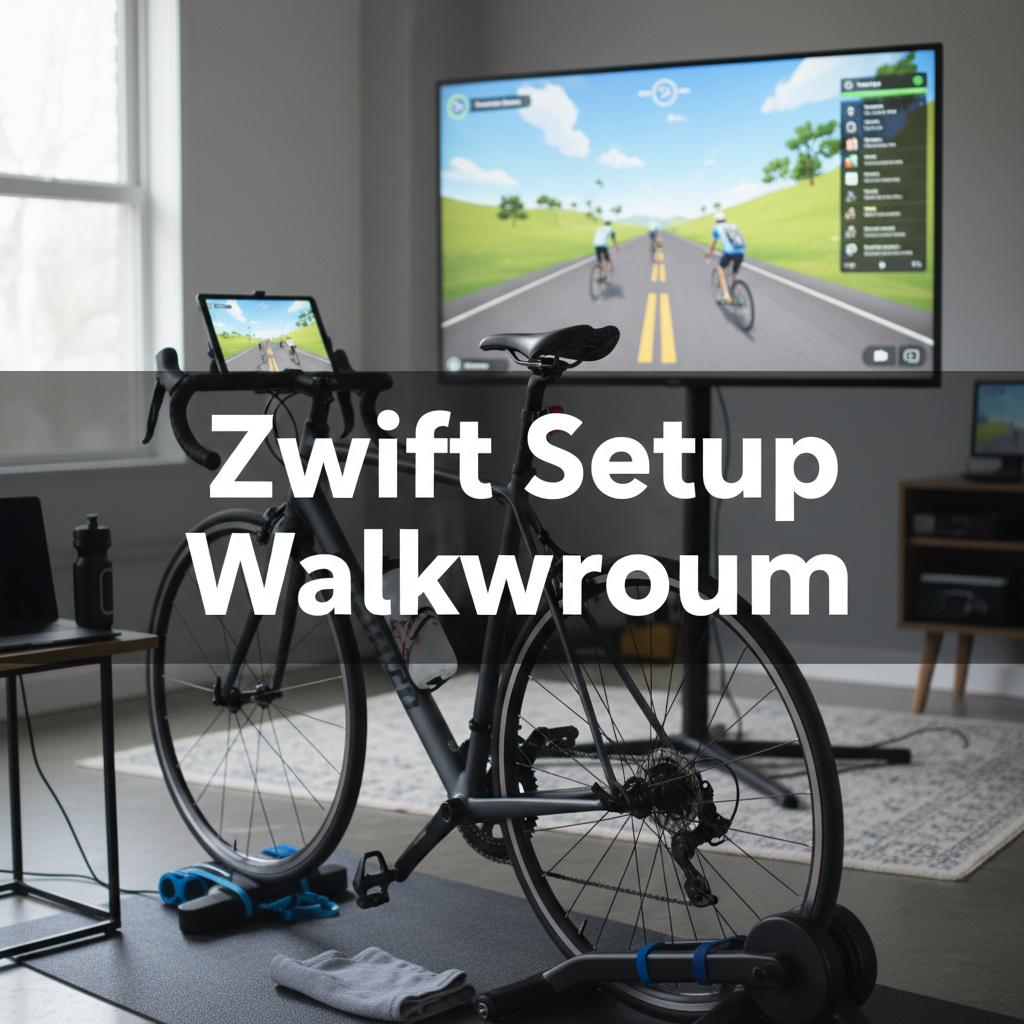
A screen: Phone works but feels cramped. Tablet is better. Laptop on a small table works great. Apple TV connected to a big screen is the premium setup.
The Zwift app: Download from their website (PC/Mac) or app store (iOS, Android, Apple TV). Free trial gets you started.
Connecting Everything
Most trainers connect via Bluetooth or ANT+. Bluetooth is simpler – just enable it on your device and Zwift should find your trainer during the pairing screen.
ANT+ requires a USB dongle on computers but often has more stable connections. If you have both options, ANT+ with a USB extension bringing the dongle near the trainer works best.
When Zwift starts, it shows a pairing screen. Click on power source and select your trainer. Click on controllable trainer and select it again if it’s smart. Click on cadence – most trainers broadcast this or you can add a separate sensor.
The Stuff That Makes It Better
A fan: You will sweat. A lot. More than outdoor riding because there’s no airflow. Get a powerful fan, ideally two – one for your face and one for your torso. This matters more than almost any other accessory.
A mat: Protects your floor from sweat and keeps the trainer stable. Any thick mat works.
A towel: Drape it over your bars or keep one close. Sweat dripping into your eyes mid-effort is not fun.
Heart rate monitor: Optional but useful for tracking effort and earning more experience points in Zwift.
Common Setup Problems
Trainer won’t pair: Close and reopen Zwift. Make sure the trainer is awake (spin the pedals). Check Bluetooth isn’t connected to something else. Try moving closer to eliminate signal issues.
Power readings seem wrong: Calibrate your trainer through its companion app. Some trainers need spindown calibrations regularly. If power still seems off, your trainer might just have that bias – consistent is more important than accurate for training.
Lag or stuttering: Close other apps. Check your internet connection. Reduce graphics quality in Zwift settings if your device struggles.
Beyond the Basics
That’s what makes Zwift setup endearing to us indoor cyclists who’ve figured it out. Once setup works, explore workouts, group rides, and races. The community is active at most hours. Events provide structure and motivation that solo riding lacks.
Zwift becomes genuinely enjoyable once the technical hassles are behind you. That first setup session can be frustrating, but once it’s dialed, you just clip in and ride.


Subscribe for Updates
Get the latest articles delivered to your inbox.
We respect your privacy. Unsubscribe anytime.